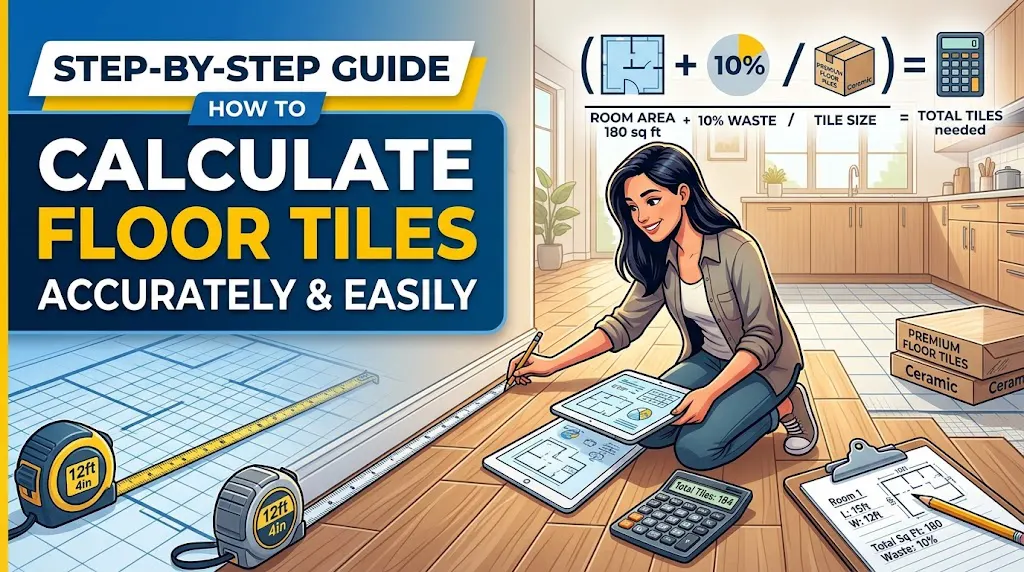
How to Calculate Floor Tiles Accurately
This guide covers how to accurately calculate the number of floor tiles needed for your space, ensuring a successful tiling project.
How to Calculate Floor Tiles Accurately
When embarking on a tiling project, whether it’s for a new kitchen floor, bathroom walls, or any other area, accuracy is key. Knowing how to calculate the number of floor tiles you need can save you time, money, and ensure a smooth installation process. This comprehensive guide will walk you through the steps necessary to make accurate calculations, providing you with the confidence to tackle your tiling project effectively.
Why Accurate Tile Calculation Matters
Accurate tile calculation is crucial for several reasons:
Tools You’ll Need
Before diving into calculations, gather the following tools:
Step-by-Step Guide to Calculate Floor Tiles
1. Measure the Area
The first step in calculating floor tiles is to measure the area where you plan to install the tiles. Here’s how:
2. Determine Tile Size
Next, you need to know the size of the tiles you plan to use. Common tile sizes include:
Calculate the area of a single tile by multiplying its length by its width. For example, a 12” x 12” tile has an area of:
12 in. x 12 in. = 144 square inches
Convert this to square feet by dividing by 144:
144 sq. in. ÷ 144 = 1 sq. ft.
3. Calculate the Number of Tiles Needed
To find out how many tiles you’ll need, divide the total area of the room by the area of one tile:
Number of tiles = Total area of room ÷ Area of one tile
For example, if your room is 200 square feet, and you’re using 12” x 12” tiles:
200 sq. ft. ÷ 1 sq. ft. = 200 tiles
4. Account for Waste
It’s essential to account for waste due to cutting tiles or mistakes during installation. A common practice is to add 10% to your total tile count:
Total tiles needed = Number of tiles + (10% of Number of tiles)
Using the previous example:
200 + (0.10 x 200) = 220 tiles
5. Finalize Your Purchase
With your final tile count in hand, you can confidently purchase the necessary materials. Remember to check with your retailer about variations in tile shades, as it’s best to buy all your tiles from the same batch to avoid discrepancies in color.
Using a Tile Calculator
For those who prefer a more streamlined approach, using a floor tile calculator can make the process easier. These tools allow you to input your room dimensions and tile size, and they’ll automatically calculate the number of tiles needed, including a waste factor.
By utilizing our Tile Calculator, you can ensure precision and efficiency in your tiling project. This interactive tool is designed to simplify the calculation process, saving you time and effort.
Additional Considerations
When calculating floor tiles, there are a few additional factors to keep in mind:
Conclusion
Calculating floor tiles accurately is a critical step in any tiling project. By following the steps outlined in this guide, you can ensure that you purchase the right amount of tiles needed for your space, saving time, money, and effort. For added convenience, don't forget to try our Tile Calculator to assist in your calculations. With the right tools and accurate measurements, your tiling project will surely be a success!
Take the next step in your home improvement journey today and start planning with confidence!
Useful Internal Resources
Explore expert blog posts, trusted local services, area guides to continue your research.
Related reads: Tile Calculator, Calculators directory, All tools hub.
Frequently Asked Questions
How do I measure my room for tiles?
Measure the length and width of your room, calculate the area by multiplying these dimensions, and consider additional sections for irregular shapes.
What size tiles should I use?
Choose tile sizes based on your space and design preferences; common sizes include 12x12, 18x18, and 24x24 inches.
How much waste should I account for?
It’s recommended to add 10% to your total tile count to account for waste due to cuts and mistakes.
Can I use a calculator to estimate tiles?
Yes, using a tile calculator can simplify the process by automatically calculating the number of tiles needed based on your room dimensions.
What other tools do I need for tiling?
In addition to tiles, you’ll need measuring tape, a pencil, a calculator, and possibly adhesive and grout.
Related Posts


Need a Professional?
Browse verified service providers on HomeSols. From plumbers to electricians, find the right expert for your needs.
Browse Services